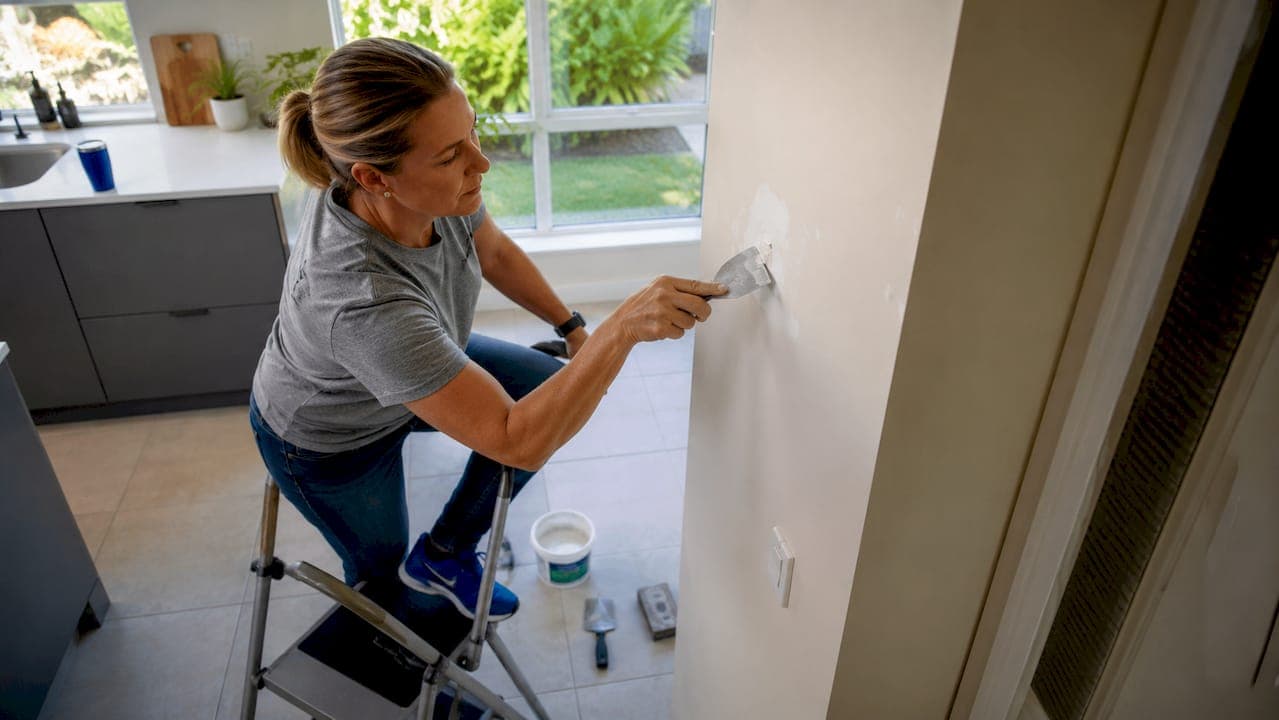
Repairing wall damage is the process of restoring a wall's surface to its original condition by filling, sanding, priming, and painting over cracks, holes, or deteriorated plaster. The right approach depends entirely on two factors: your wall material and the severity of the damage. Cosmetic damage such as small dents, hairline cracks, and nail holes is safe for DIY. Structural damage, including spreading cracks, soft spots, and water-affected areas, requires professional inspection. Auckland homes built before the 1970s typically have traditional plaster walls, while newer builds use plasterboard, commonly known as GIB®. Knowing which you have before you pick up a filling knife is the single most important step in any wall repair.
How to identify your wall type and repair wall damage correctly
Identifying your wall material before starting any repair prevents the most common DIY failures. Homeowners who skip this step often apply the wrong filler, use incompatible primers, and end up with visible patches that require a professional to fix.
Plasterboard versus traditional plaster
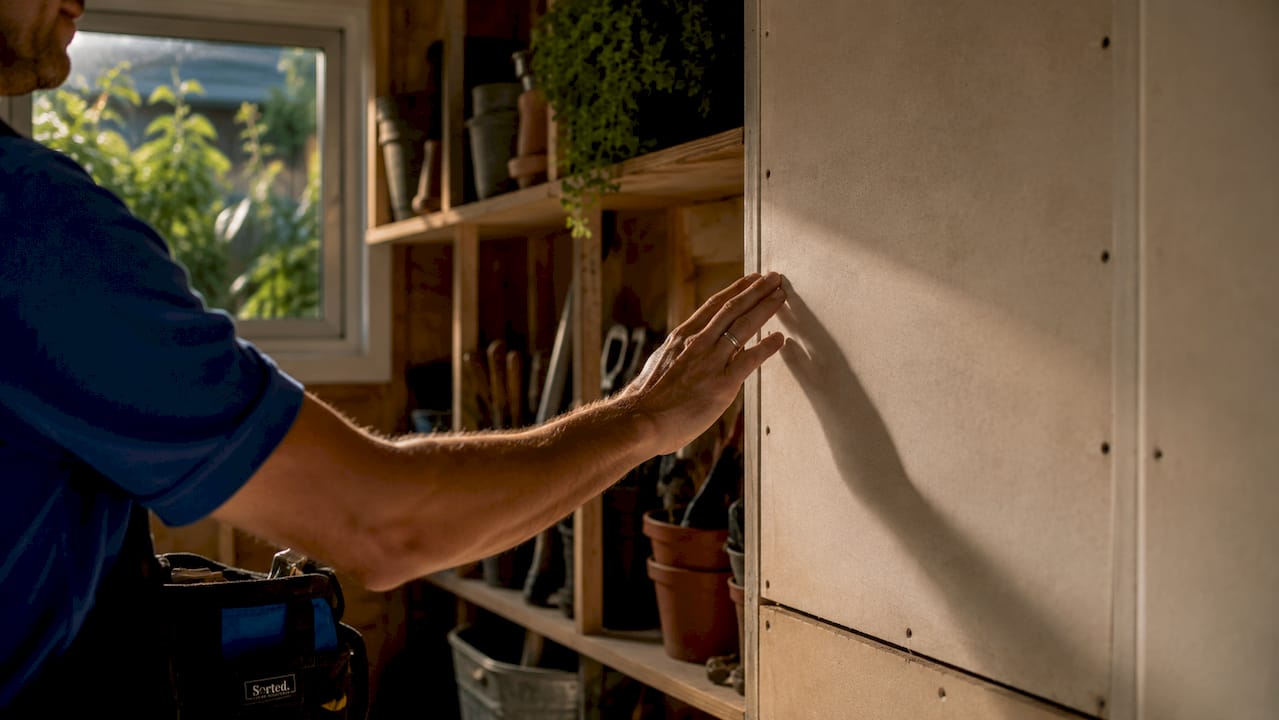
Plasterboard (GIB®) feels hollow when you tap it lightly. It has a paper-faced gypsum core and is found in most Auckland homes built after the 1970s. Traditional plaster walls feel solid and dense when tapped, and they are common in villas and bungalows across suburbs like Ponsonby, Grey Lynn, and Mt Eden. Plaster walls are usually thicker and may show a fine mesh or lath backing if you probe a damaged area.
Cosmetic versus structural damage
Cosmetic damage includes small cracks under 3mm wide, nail holes, dents, and surface scuffs. These are safe to fix yourself. Structural damage shows up as cracks wider than 3mm, cracks that run diagonally from window or door corners, soft or spongy wall surfaces, visible mould, water staining, or plasterboard that sags or delaminates. If you see any of these signs, get a professional assessment before touching the surface.
Pro Tip: Shine a torch at a low angle across the wall surface. This raking light technique reveals uneven patches, ridges, and cracks that are invisible under normal lighting.
Tools and materials: plaster versus plasterboard
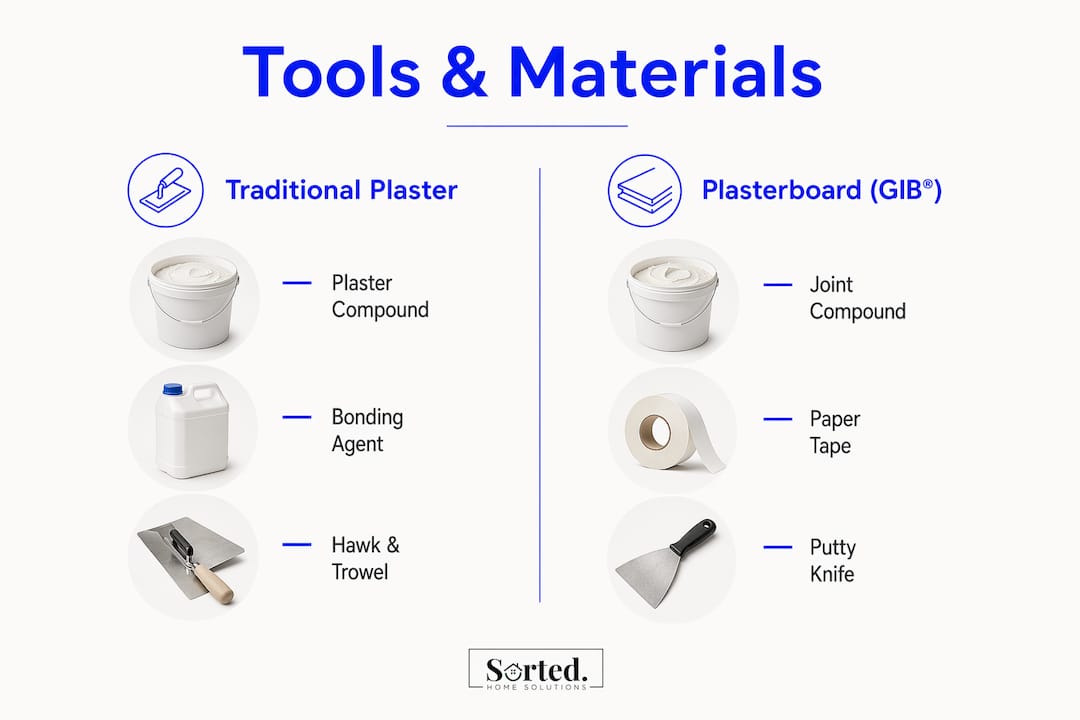
| Feature | Traditional plaster | Plasterboard (GIB®) |
|---|---|---|
| Filler type | Plaster patching compound or lime-based filler | Lightweight joint compound or pre-mixed stopping compound |
| Tape required | Fibreglass mesh tape for larger cracks | Fibreglass joint tape for cracks and joins |
| Drying time per coat | 24–48 hours | 24–48 hours |
| Sanding approach | Fine-grit paper, feather edges carefully | Fine-grit paper, avoid sanding through paper face |
| Primer needed | Plaster-specific sealer | Spot primer before painting |
Step-by-step: how to fix wall damage on plasterboard
Plasterboard repairs follow a clear sequence. Rushing any step, particularly drying times, is the leading cause of cracking and visible patches.
-
Clean and prepare the area. Remove any loose debris, dust, or flaking paint around the damaged area. Use a damp cloth to wipe the surface clean, then allow it to dry fully before applying any compound.
-
Apply fibreglass joint tape for cracks. For cracks longer than 50mm, press fibreglass joint tape firmly over the crack before applying any compound. This reinforces the repair and prevents the crack from reopening.
-
Apply the first coat of stopping compound. Use a flexible filling knife to spread a thin, even coat of lightweight joint compound over the repair. Feather the edges outward so the compound blends gradually into the surrounding wall. Do not apply a thick coat in one pass.
-
Allow full drying time between coats. Each coat needs 24–48 hours to dry completely. Skipping this step causes the surface to crack as the compound shrinks. Good airflow speeds drying without the risks that heat sources create.
-
Apply a second and third coat. Multiple thin coats produce a far better result than one thick application. Each coat should be slightly wider than the previous one to blend the repair into the wall.
-
Sand to a smooth finish. Use 120-grit sandpaper followed by 180-grit for a fine finish. Sand lightly and evenly. On plasterboard, avoid pressing hard enough to break through the paper face, as this creates a new problem that requires additional compound.
-
Spot prime before painting. Spot priming the repaired area before applying your topcoat prevents paint flashing, which is the dull or patchy appearance that occurs when unprimed compound absorbs paint differently from the surrounding wall.
-
Paint for an even finish. Apply two coats of your wall paint, allowing full drying between coats. Feather the paint edges outward from the repair to avoid a visible boundary.
Pro Tip: Always work in natural daylight when sanding and checking your repair. Artificial lighting hides surface imperfections that will become obvious once the paint dries.
Best practices for repairing plaster walls
Traditional plaster walls require a different approach to patch drywall holes or surface cracks. The material is denser, less forgiving, and more prone to cracking if you rush the process.
-
Assess the plaster condition first. Tap around the damaged area and listen for a hollow sound. Hollow sections indicate that the plaster has separated from the backing. These areas need to be stabilised or removed before any filler goes on.
-
Clean and stabilise loose edges. Use a scraper to remove all loose or crumbling plaster back to a firm edge. Brush away dust and debris. If the edges are powdery, apply a diluted PVA bonding agent and allow it to dry before filling.
-
Choose the right filler. Use a plaster patching compound or a lime-compatible filler for traditional plaster walls. Standard lightweight joint compound is not designed for dense plaster surfaces and may not bond correctly.
-
Apply filler in layers, feathering each coat. Fill the repair in thin layers, allowing each to dry fully before adding the next. Feather each coat wider than the previous one to blend the repair into the surrounding surface. This prevents the visible ridge that appears when filler is applied in one thick pass.
-
Sand carefully and prime before painting. Use fine-grit sandpaper and work gently. Plaster surfaces can be abraded unevenly if you apply too much pressure. Once sanded, apply a plaster-specific sealer or primer before your topcoat.
Pro Tip: On older plaster walls, mix a small amount of bonding agent into your first coat of filler. This improves adhesion and reduces the risk of the patch cracking or lifting over time.
Common pitfalls include applying filler over damp plaster, skipping the bonding step on powdery surfaces, and using the wrong primer. Each of these mistakes leads to a patch that cracks, peels, or shows through the paint within months.
When does wall damage need professional repair?
Some damage is beyond what DIY can reliably fix. Recognising the boundary saves you time and prevents small problems from becoming expensive ones.
Extensive water damage, mould growth, sagging, or delaminated plasterboard requires board replacement rather than patch repair. Patching over these conditions traps moisture and creates ongoing structural risk.
Signs that point to professional repair:
- Cracks wider than 3mm or cracks that reappear after repair
- Soft, spongy, or bulging wall surfaces
- Visible mould or persistent water staining
- Plasterboard that sounds hollow across a large area
- Damage covering more than a single sheet of plasterboard
Restopping versus board replacement
Restopping means applying fresh stopping compound across an entire wall or room to create a uniform surface. This is the right call when a wall has multiple small repairs, uneven texture, or years of patched areas that create a patchwork appearance. Board replacement is necessary when the plasterboard itself is structurally compromised.
Multiple poorly done DIY repairs often cost more to fix professionally than the original damage would have. Visible ridges, uneven texture, and mismatched finishes are the most common outcomes when technique or patience falls short.
Pro Tip: Before calling a professional, check your repair and maintenance options to understand what level of intervention your damage actually needs. This helps you ask the right questions and avoid paying for more than the job requires.
| Damage type | Recommended action |
|---|---|
| Small cracks, nail holes, dents | DIY patch repair |
| Multiple patches, uneven texture | Professional restopping |
| Water damage, mould, sagging | Board replacement by a professional |
| Structural cracking | Professional inspection before any repair |
Key takeaways
The most effective way to repair wall damage is to identify your wall material first, address any underlying cause, and apply filler in multiple thin coats with full drying time between each.
| Point | Details |
|---|---|
| Identify wall material first | Plasterboard and traditional plaster require different fillers, tapes, and primers. |
| Classify damage before starting | Cosmetic damage suits DIY; structural or water-affected damage needs professional assessment. |
| Use multiple thin coats | Thin layers dry without cracking and produce a smoother finish than one thick application. |
| Spot prime before painting | Priming the repaired area prevents paint flashing and colour inconsistency on the finished wall. |
| Address the root cause | Fixing humidity, leaks, or movement before repairing the surface prevents the damage from recurring. |
What I have learned from years of wall repairs
Working on Auckland homes across a wide range of ages and wall types has taught me one consistent lesson: the repair itself is rarely the hard part. The hard part is patience.
Most DIY wall repairs fail not because of poor technique but because the person doing the work rushes the drying process. I have seen homeowners apply three coats of compound in a single afternoon using a heat gun, then wonder why the surface cracked overnight. Rapid drying causes surface cracking, particularly in Auckland's variable humidity. Natural drying with good airflow is always the right call.
The second thing I see go wrong is skipping the root cause. A crack that keeps coming back is not a finishing problem. It is a moisture problem, a settling problem, or a structural problem. Failing to address the underlying cause before repairing the surface means you will be back doing the same job in six months. Fix the source first, always.
My honest advice for anyone tackling a wall repair for the first time: work in natural light, build up your coats slowly, and do not skip the primer. Those three habits separate a repair that lasts from one that shows up the moment the paint dries.
— Rudi
Wall repairs handled properly by Sortedhomesolutions
Not every wall repair is a weekend job. When the damage is widespread, the plasterboard is compromised, or the finish needs to be flawless for a sale or renovation, professional results matter.

Sortedhomesolutions handles the full scope of residential wall repairs across Auckland, from minor patch repairs and restopping through to full board replacement and painting. The team manages every trade in one place, so you are not coordinating between a plasterer, a painter, and a builder separately. For a clear picture of what your repair might cost, visit the repair pricing guide or get in touch directly to discuss your specific situation. Sortedhomesolutions keeps the process straightforward from assessment to finished coat.
FAQ
What is the difference between cosmetic and structural wall damage?
Cosmetic damage includes small cracks, dents, and nail holes that affect only the surface. Structural damage involves spreading cracks, soft spots, mould, or water-affected areas that affect the wall's integrity and require professional assessment.
How long does wall repair compound take to dry?
Each coat of stopping compound or joint compound requires 24–48 hours to dry fully. Drying time varies with humidity and airflow, and using heat sources to speed the process causes surface cracking.
Can I repair plaster walls the same way as plasterboard?
No. Traditional plaster walls require plaster-specific patching compounds and bonding agents, while plasterboard uses lightweight joint compound and fibreglass joint tape. Using the wrong product on either surface leads to adhesion failure.
When should I replace plasterboard instead of patching it?
Board replacement is necessary when plasterboard shows water damage, mould growth, sagging, or delamination across a large area. Patching over these conditions traps moisture and does not restore structural integrity.
Why does my wall repair look patchy after painting?
Patchy paint after a repair is caused by skipping the spot primer step. Unprimed compound absorbs paint at a different rate than the surrounding wall, creating a visible difference in sheen and colour. Always spot prime the repaired area before applying your topcoat.